What is Nagios cor.?
Nagios core is an most popular and enterprise open source monitoring tool. Using this monitoring tool you can monitor any device in this world even UPS / Battery status. This tool will support almost all the scripting languages.
Prepare your Linux server to install Nagios monitoring tool
Nagios Version: 4.1.1
Prerequisites:
- Nagios code is written in C language so you required an gcc++ compiler packages to compile and install Nagios.
- Required wget package to download the nagios tool directly from web to server
- To untar the package required Rar / Zip RPM’s
- Web / Apache / Httpd service to host the Nagios
- Install php and perl packages to run Nagios plugins
Step1:> Installing prerequisites
~]# yum install -y wget httpd php gcc glibc glibc-common gd gd-devel make net-snmp perl perl-devel openssl
by using above command it will install all the required prerequisites
Step2:> Download the Nagios Core Package from web
~]#wget http://sourceforge.net/projects/nagios/files/nagios-4.x/nagios-4.1.1/nagios-4.1.1.tar.gz
using above command you can download the NagiosCore 4.1.1 package
Step3:> Create Nagios User and Nagcmd group
~]#useradd nagios                ##Creating Nagios User
~]#groupadd nagcmd               ##Creating Nagcmd Group
~]#usermod -a -G nagcmd nagios   ##Adding nagios user to nagcmd group
Step4:> Untar the Package
~]#tar -xzvf nagios-4.1.1.tar.gz
above command will untar the tar file
Step5:> Compiling Nagios code
cd nagios-4.1.1
./configure --with-command-group=nagcmd
make all                                    ##To Make the package
make install                      ##To install the complied package
make install-init        ##To install init script in /etc/rc.d/init.d
make install-config                    ##To Generate the config files
make install-commandmode        ##To install the command mode enable
make install-webconf                ##To Generate the Web config file
using all above commands in sequence will installation nagios
Step6:> Copy the Event handler directory and change its ownership
~]#cp -rvf contrib/eventhandlers/ /usr/local/nagios/libexec/
Change ownership of copied directory using below command
~]#chown -R nagios:nagcmd /usr/local/nagios/libexec/eventhandlers
Step7:> Create nagiosadmin user and Generate the password to Web Login
create nagiosadmin user and generate password of nagiosadmin using htpasswd command. nagiosadmin we will use to login the web console.
~]#htpasswd -c /usr/local/nagios/etc/htpasswd.users nagiosadmin
Step8:> Start the httpd and nagios services
use below given command to start the httpd and nagios services
~]#systemctl start httpd.service
~]#systemctl start nagios.service
Check the services status
~]#systemctl status httpd.service
~]#systemctl status nagios.service
Step9:> Allow 80 port to access the Nagios using remote machine
in RHEL7 / Centos 7 instead of iptables firewalld is introduced use firewalld to allow 80 port
~]#firewall-cmd --zone=public --add-port=80/tcp -permanent ~]#firewall-cmd --reload
Step10:> Access the Nagios using web browser
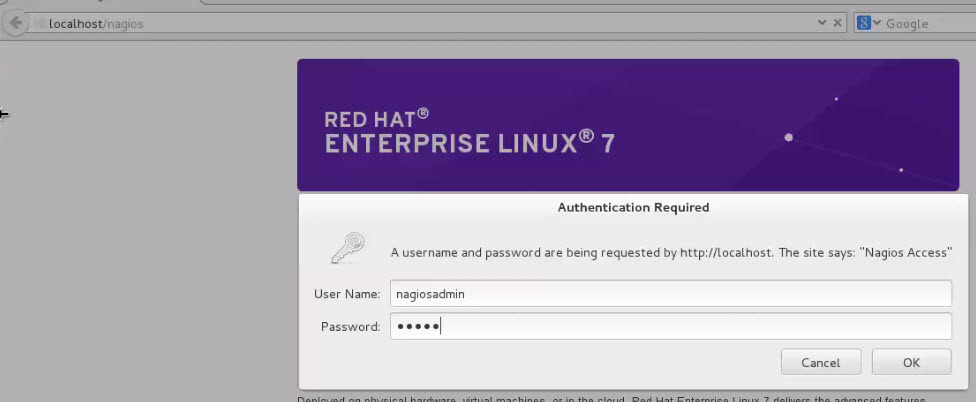
open the browser and type http://IPADDRESS/nagios
in above screen you can able to see the nagios dashboard is showing errors, because we did not yet installed the nagios plugins.
Lets install nagios plugins..!!
Install Nagios plugins on Nagios Server
Nagios plugins will play main role to monitor the service. Its very easy to install the nagios plugins.
nagios plugins are locate yet /usr/local/nagios/libexec/
Download the plugins bundle
~]# wget http://www.nagios-plugins.org/download/nagios-2.0.3.tar.gz
extract the package
~]# tar -xzvf nagios-plugins-2.0.3.tar.gz
Change to directory to install plugins
cd nagios-plugins-2.0.3
./configure --with-nagios-user=nagios --with-nagios-group=nagcmd
make
make install
After installing an nagios plugins just wait for five minutes and open the nagios web console and see.
That’s it…!! your Nagios Core monitoring tool is installed successfully.


No comments:
Post a Comment